


Taking a Deep Breath
breathe in; breathe out

I feels a little weird to be 2 weeks out from delivering my work to The Fountainhead Gallery on Queen Anne Hill in Seattle, and other than varnishing and putting one last painting, I am completely done with all the prep work for my show. This weekend the painting will be sufficiently dry, and the weather warm and dry enough to do several layers of varnishing.
Yay me!
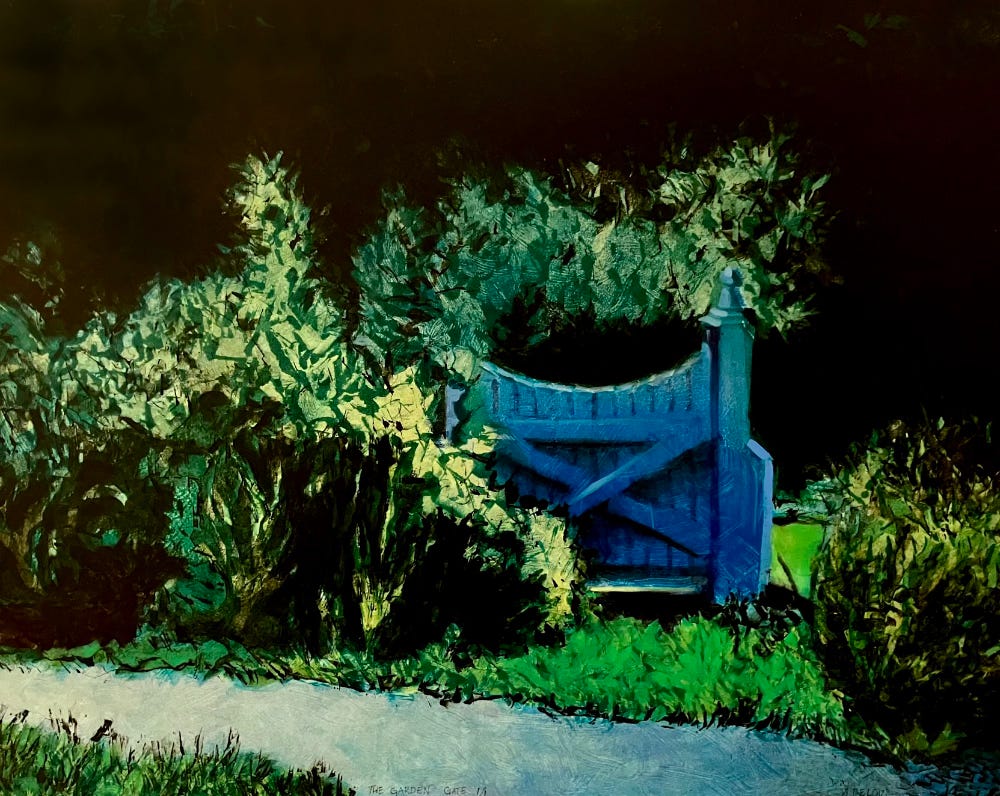
Garden Gate
Monotype mounted on panel
16” x 20”
I have admitted previously, to my promiscuous ways, well, at least as regards art mediums. I’ve painted in oils, watercolor, colored pencil, acrylics, egg tempera, and unholy combinations of the above media. I’ve worked in printmaking, doing etchings, lithographs, mono prints and monotypes.
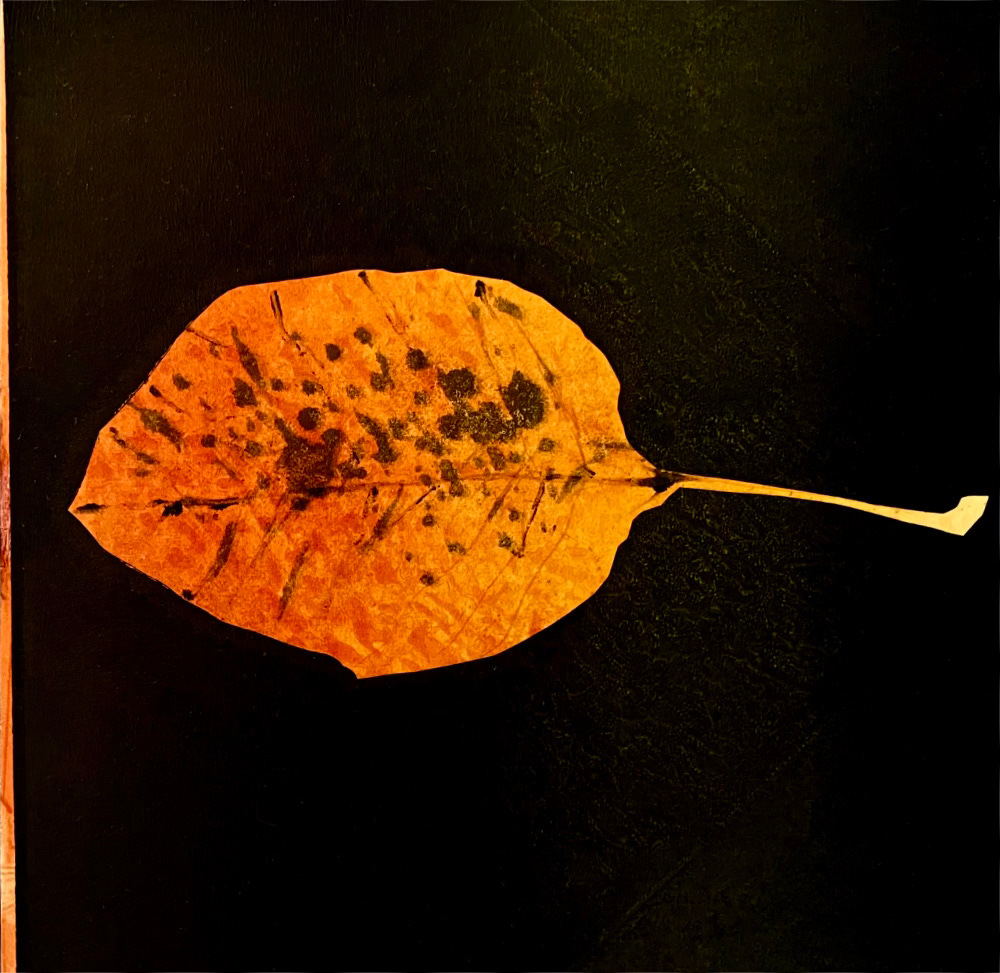
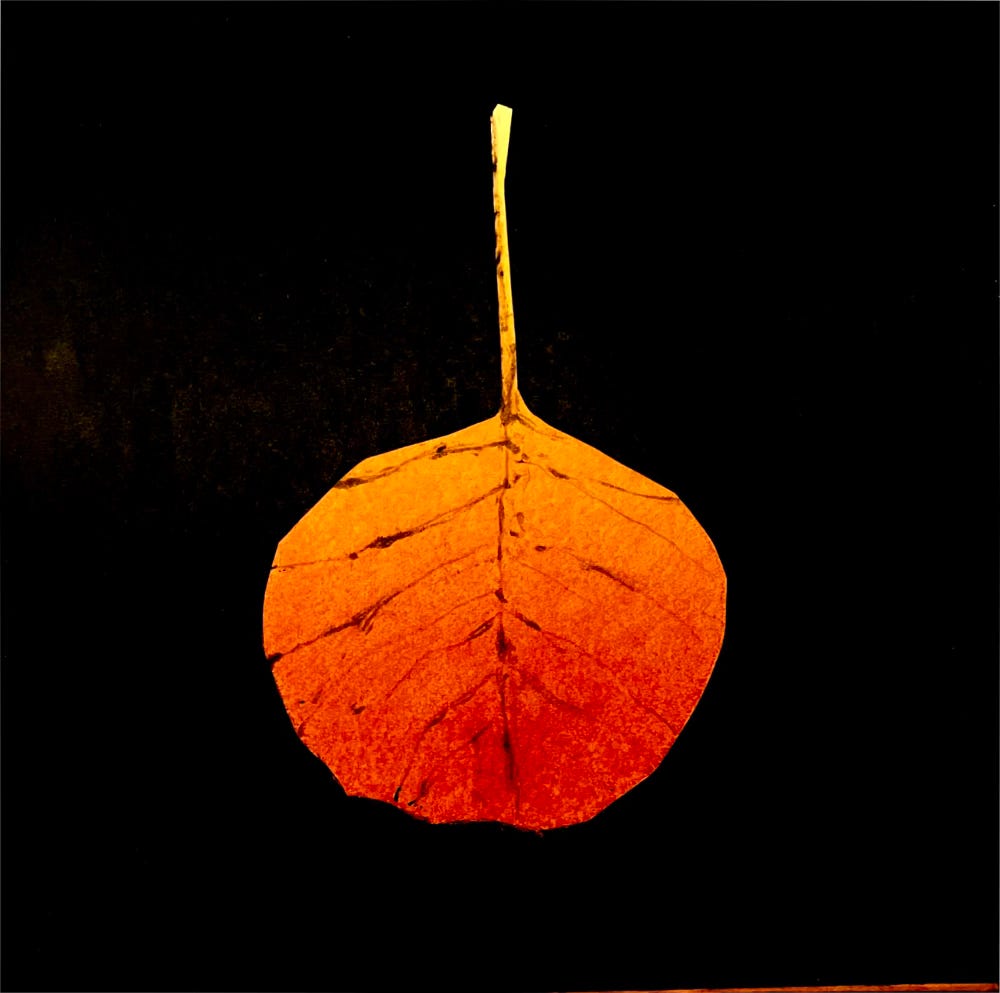
Fallen
Monotype mounted on panel
8” x 8”
I love all of them for different reasons. There are subjects that seem to call out for one medium over another, but mostly I am somewhat of a serial monogamist when it comes to painting media. The thing I love about creative cross training is that while each medium has inherent techniques, by being conversant in multiple media, I can take the practice of working in transparent layers from watercolor, and translate it to doing those same kinds of transparent layers in oil.
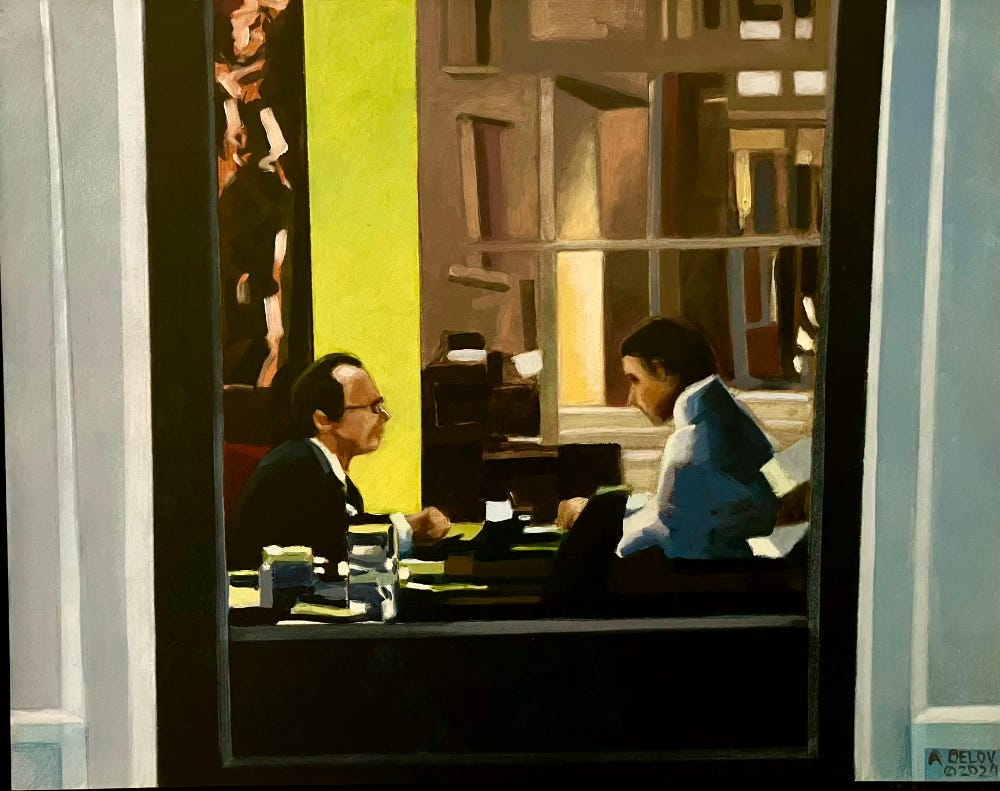
Two Men Walk Into a Bar
Oil on panel
11”x14”
To get something to really glow, like that chartreuse-y green panel, you can’t just mix white with yellow green, because the color will become flat and lose the vibration that this green has. You have to build a base of opaque white, let it dry, then glaze a layer of transparent yellow, let it dry, then glaze with a yellow-y green, with some subtle variation from the top of the area and more yellow at the bottom.
It takes some goddam patience to wait till it’s dry enough to add the next layer, let me tell you! Because you know what happens if you don’t wait? You have to scrape it off, LET IT DRY, THEN DO IT OVER.
[Insert metaphor about it being quicker to wreck government agencies than it is to fix what you’ve fucked up]

Nocturne
Monotype mounted on panel
8”x10”
It might seem counterintuitive, but darks appear richer if you paint/print multiple layers of dark over top of dry layers of other darks (or even lighter colors/values) and whites or near whites glow when painted opaquely.
Science!
If you’re not interested in the minutia of safely cleaning up after yourself in the studio, you can stop reading here!
Allow me to share my semi annual rant about detoxifying your painting and printmaking studio. Now, it’s kind of a relative detoxification, because those lovely pigments themselves are at least some level of toxic. (Wash your paws, don’t lick them after your studio time and for god’s sake don’t eat a sandwich with your paint covered hands!)
Leaving aside the pigments themselves, the most toxic things in your studio are mediums and stuff to clean up your rollers and brushes. When I returned to oil painting after several years of working in water based media, I did what I did as a student, which is to say have an open jar of paint thinner on my palette table with all the brushes stuck in it. I immediately started getting migraine headaches. I did not get used to the fumes.
At the same time I started oil painting again, I was making etchings at a print making studio on Guemes Island. At the time, a book about non toxic printmaking had come out, just in the nick of time.
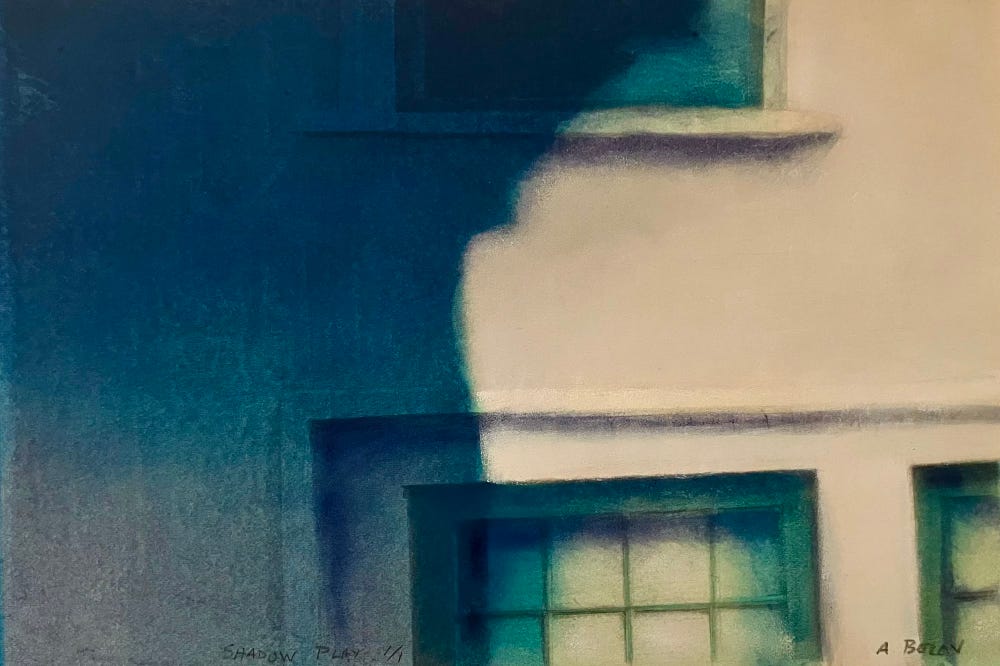
Shadow Play
Monotype over graphite
8” x 12”
Instead of using solvent to clean my print brayers, I use a little baby oil on squares of felt or paper towel and wipe the rollers after removing any excess ink on a piece of newsprint. (one reason not to cancel your print newspaper subscription or throw out those old phone books you’ve been meaning to) The only thing that should touch the rubber brayers is the baby oil. To clean up everything else, I scape up as much ink as I can and wipe on the newsprint so it can dry before throwing out. I then clean all surfaces (inking table, tools other than brayers) with rubbing alcohol that I get from the hardware store in gallon jugs. I keep a small flip top plastic bottle to just squirt out as much as I need. While I do use paper towels when I am out of rags, I rarely seem to run out of worn flannel sheets or kitchen towels cut up into small squares. It would probably be economical to go to the thrift store and get old cotton flannel sheets rather than buying paper towels which have become kind of pricy.
Still Standing
Monotype mounted on panel
8” x 8”
When it comes to painting, I use a similar clean up technique. Gamblin makes a really nice solvent free gel medium and I found a citrus based thinner (Eco-House, available from Dick Blick) that while it has a bit of fumes, I keep it in a plastic squeeze bottle and just put out a few drops on my palette so it isn’t fuming at me.
I made a brush holder by drilling holes in a piece of 1” x2” that I clamped to the end of my palette table, where my brushes with paint sit between using them. Because I don’t have an open jar of solvent on my table, I end up dirtying more brushes as I try to keep them for each color I’m using during a painting session.
Again, before cleaning my brushes, I wipe off as much paint as I can on one of my paint rags. I keep one of those jars made for painters that have a metal coil an inch or two from the top, and fill to about 1/2 inch over the coil with baby oil. You gently work the brush over the wire loosening as much pigment as you can, wiping on your paint rag to remove more oil and pigment.
I extend the life of the baby oil by pouring off the dirty oil every month or two (depending on how much painting I’m doing) into another jar (large plastic peanut butter jars work great) to let all the pigment settle to the bottom, then after a few days, you can carefully pour off the clean oil back into your coil jar. In theory, you can keep doing this, topping off the clean oil once in a while as needed, till you have a full jar of paint sediment that you can take to the toxic waste disposal in your area. As yet, I have not collected enough sediment to need to do this.
I then have a jar of soy based cleaner that I found at the grocery store, which I do a second round of cleaning of my brushes. I don’t know if this would be a stable additive to my paints, so I only use this for cleaning at the end. This also can be decanted to another jar for the sediment to settle out and the pour off the clean liquid back to your jar you use to clean brushes. This takes a little longer to settle out, so I only do this when I know I’m not going to be painting for a week or more.
I also use rubbing alcohol if there is paint build up in the brushes near the ferrule. I put a little pool of alcohol on my palette and lay the bristles in the liquid and blot dry on a rag till there is no more paint showing up on the rag. It’s better to blot and squeeze the cloth around]d the bristles rather than jamming them straight into the rag on the table, so you don’t damage those price little suckers.
It sounds like a lot of steps and process, but it goes pretty quickly.
Thank you for indulging my droning on about non-toxic studio habits!
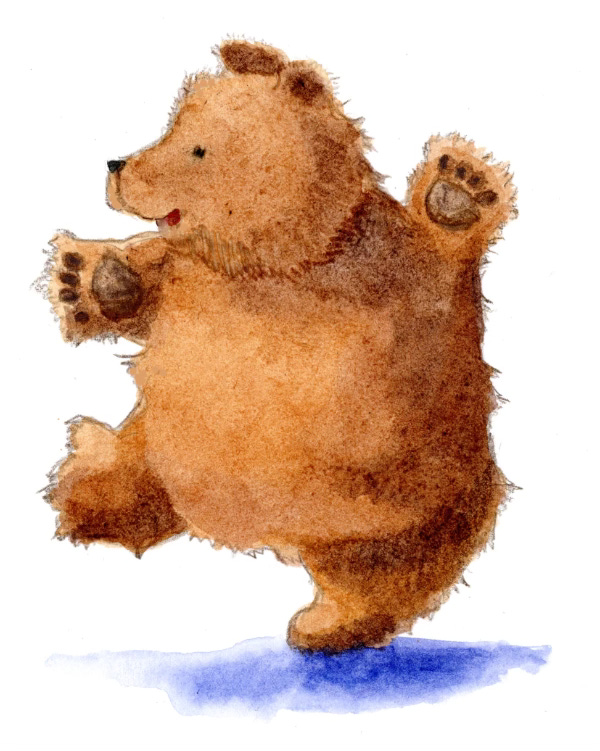
Here’s a bear for your patience!
Thanks again, to long time followers and the new kids on the block! I was gonna say “old followers” but I thought better of it. It’s been a week in the NooZ. Take care, and take all the joy you can find.
Thank you for the studio pep talk. More please!
Praying your show is bountiful! You deserve all the praise! 😃❤️🙏